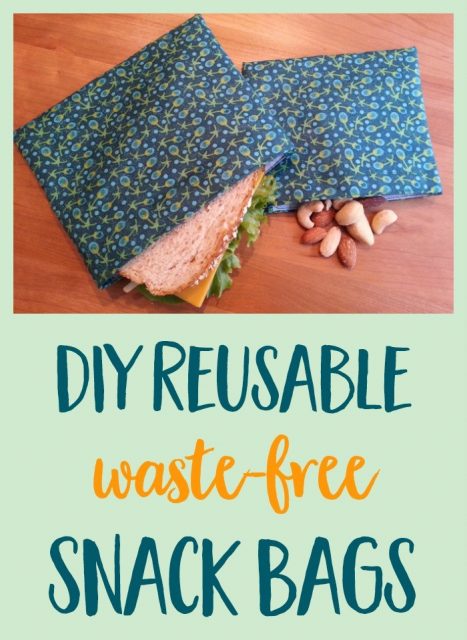
How to Make DIY Snack & Sandwich Bags – a Simple Tutorial
Learn how to make your own reusable DIY snack & sandwich bags with this easy tutorial.
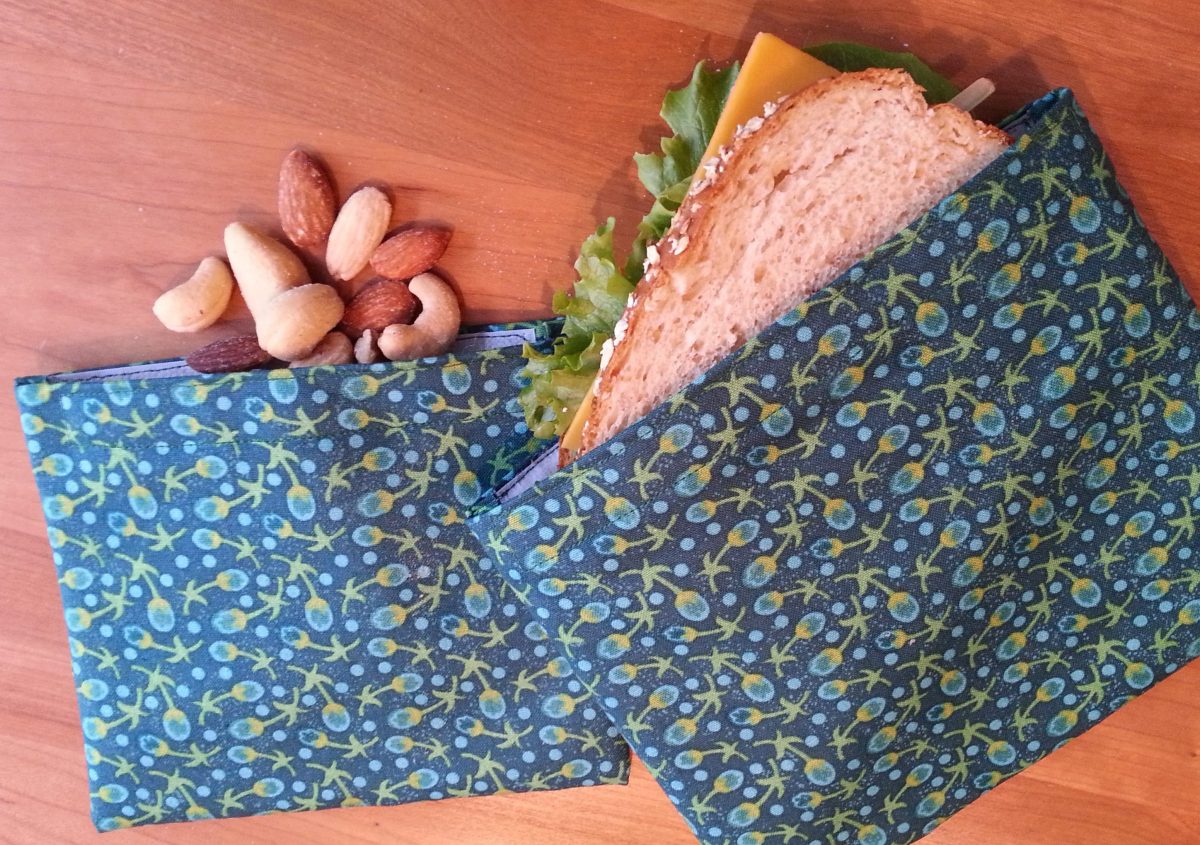
Are reusable snack bags as indispensable in your life as they are in mine?
We use ours for healthy school lunches, road trips and snacking on-the-go. It took a while to get into the habit of using reusable snack bags instead of plastic baggies, but now that we use them regularly, I can’t imagine not having them.
At Mindful Momma we only endorse products we’ve personally researched, tested, and honestly love. We may receive commissions from affiliate links in this article including Amazon Affiliates. Full Disclosure
Why Use Reusable Snack Bags?
We know we’ve got a big problem with plastic waste on this planet. In fact, 9 million tons of it end up in the ocean every year.
There are many swaps we can make to reduce our dependence on plastic wrap and disposable baggies. Switching to reusable snack and sandwich bags instead of disposables are an easy step we all can take to do our part for the planet! Plus, brightly colored reusable bags are much more fun to use!
Keep reading for the easy sewing tutorial, but no worries if you’re not the crafty type, there are plenty of reusable snack bags available to buy as well.
Related: How to Reduce Plastic in Your Home & Life
DIY Snack & Sandwich Bags Tutorial
If you’re even slightly handy with a sewing machine, I suggest learning how to make these snack and sandwich bags yourself. I think you’d be surprised at how easy they are, and you’ll save money by making instead of buying.
Plus you get to pick the fabric! This is a great project for using up fabric scraps you have on hand, or you can buy remnants or fat quarters at the fabric store without spending a fortune.
Once you get sewing, you’ll want to make a bunch of bags at a time – make a stash for your family to use and some for gifts too!
The Supplies:
- sewing machine
- cotton fabric
- ripstop nylon lining
- 5/8″ wide sew-on Velcro
- coordinating thread
The Directions:
Snack Bag (5″ x 6″ finished size): Start with 12″ x 7″ pieces of both cotton fabric and ripstop nylon as well as a 5″ strip of Velcro.
Sandwich Bag (6″ x 7 1/2″ finished size): Start with 14″ x 8 1/2″ pieces of both cotton fabric and ripstop nylon as well as a 6 1/2″ strip of Velcro.
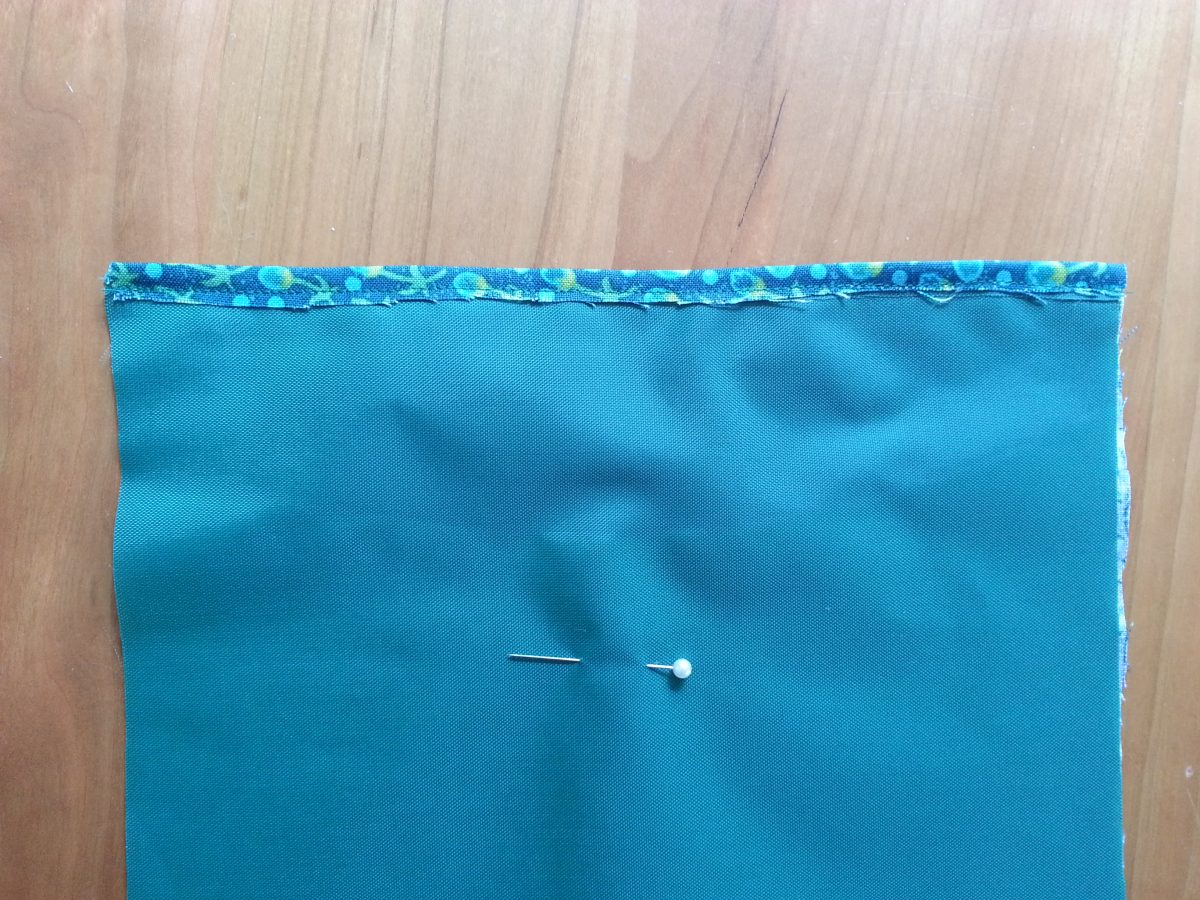
Place cotton fabric and ripstop nylon together with right side of cotton facing out (there is no right or wrong side to ripstop nylon).
Fold top edge under 1/4″ and lightly press with an iron on low setting (not too hot or nylon may melt). Use sewing machine to stitch in place. Repeat with bottom edge.
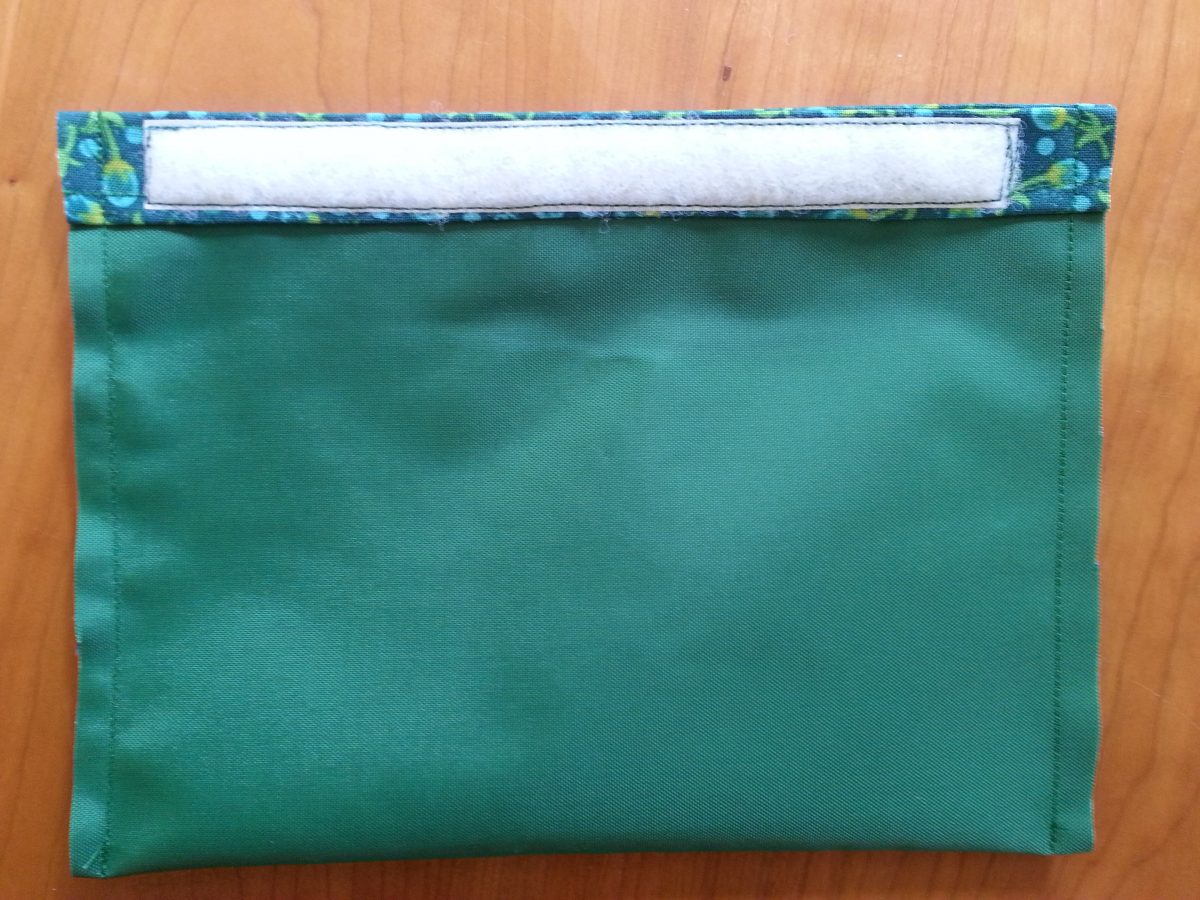
Fold the same edges over another 3/4 inch. Press and pin in a couple places. Place Velcro strip on each edge (the fuzzy side on one edge and the hook side on the other edge) and stitch in place.

Fold material in half with right sides together. Stitch side seams at 1/2 inch. When finished, trim seams to 1/4 inch.
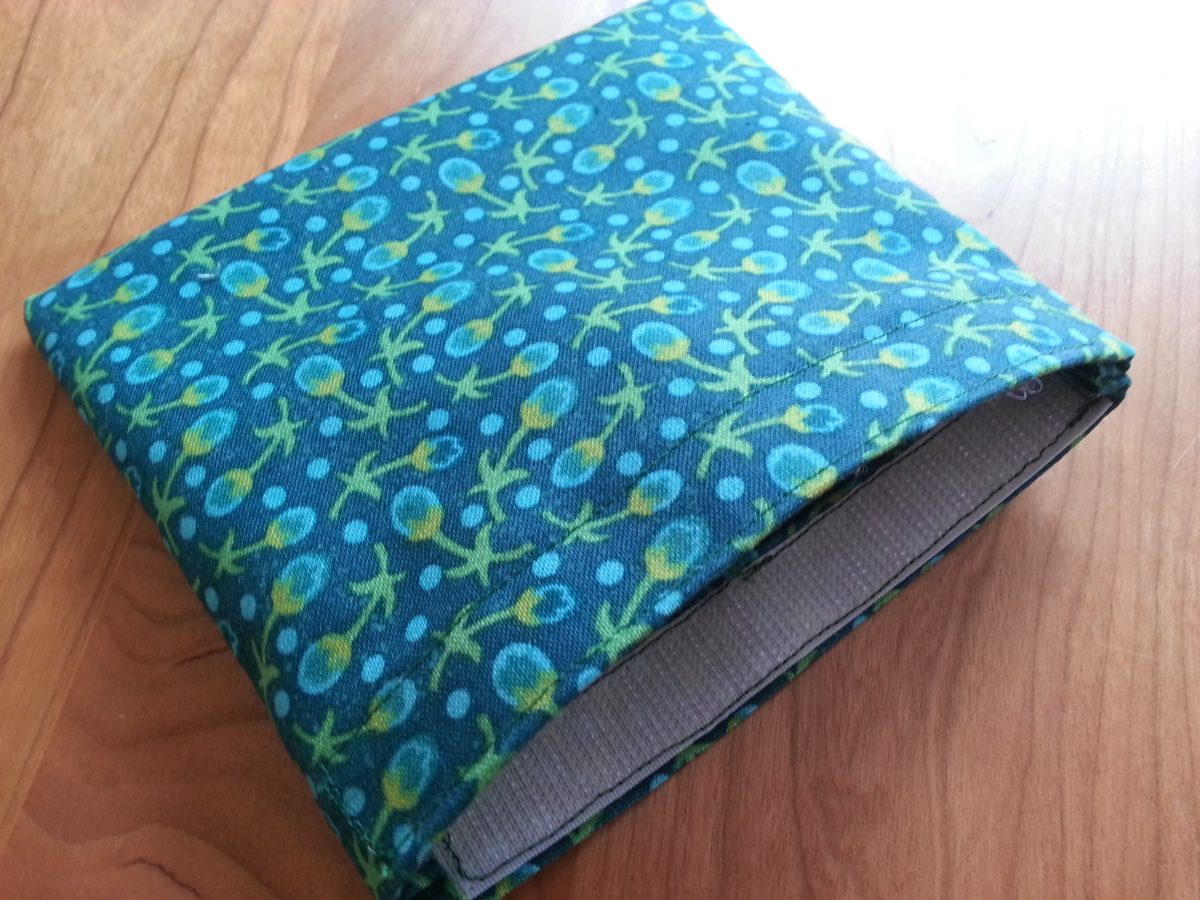
Turn bag inside out and push corners out with the end of a pencil if you need to. The Velcro seams should match together at the top.
Finished bags can be washed by hand or machine-washed.
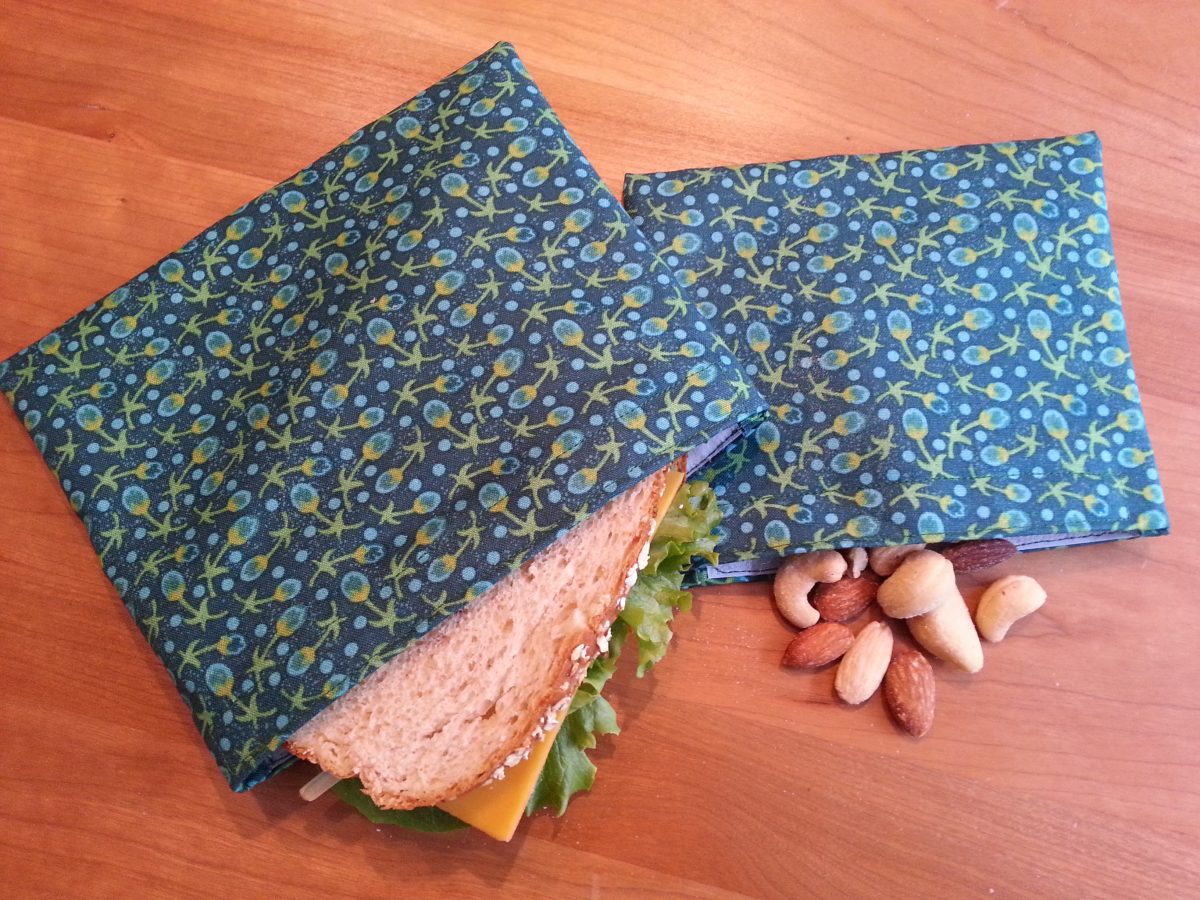
See, I told you it was easy! Enjoy your snack bags and feel good about doing your part for the planet!
What kind of foods do you carry in a snack sack?

P.S. Find lots more earth-friendly reusable products including DIY Beeswax Wraps here on Mindful Momma!
I’m inspired! We have lots of fabric and Velcro lying around!! And my girls love simple sewing projects! Thanks for the idea!
Oh Pam I love the idea of you doing this as a sewing project with your girls! I grew up sewing with my mom! I have two boys who aren’t too into sewing. 🙂
Great tutorial. I’m planning to make some for Christmas gifts this year. I’ll be linking here on my DIY Christmas Gifts Round Up over at hampersandhiccups.com
Thanks!
Katelynn, hampersandhiccups.com
Oh thank you Katelynn – I appreciate the link love!
Hi. I was wondering if the nylon was food safe. Thank you.
look for PUL nylon, which is food safe
Thank you
I love your tutorial!
I used it and your pictures in my school project about an original Adult Library Program. (I called it “The Art of the Packed Lunch”) I hope to offer this kind of DIY project as a library service one day!
Wonderful – so glad you found it helpful! Love the Art of the Packed lunch idea!
I’m making some currently. I was wondering if they can be dried in a dryer on delicate setting? Thanks.
Yes, they can be dried in the dryer if you prefer!
Thanks for the inspiration. I lined mine with empty cereal packets given that I know they are already food safe and surprisingly they have held up brilliantly to the sewing machine needle! (they are thicker than what you would get in a box). I ended up buying the stick on velcro which worked a charm on the inside of the cereal liner and it was less one thing I didn’t have to sew LOL. So far I have made 15 only… the kids love them and they have already received comments from other kids that they love them too!
What a great idea to reuse the inside lining of a cereal box! Thanks for sharing that creative idea!
This is a very cute and creative idea. I’ve been trying to find more environmental friendly options on packing my kid’s lunch and snacks for school.
Hi there. love your tutorial. I am a little confused by the munbers. the 14X 8,5 what is the first one? 14 is the width or the height?
sorry I am a beginner.
france
Hi there – sorry if you were confused! 14″ is the height and 8.5″ is the width. Hope that helps!
I wondered how long the sandwiches or snacks stay fresh. Also, would making a French seam so there are no raw edges be useful on the side seams?
I am hoping to try this idea so I can make gifts for my family. Love the idea.
These snack bags are more for short term storage – a few hours or up to a day. Sure, French seams would be great! I didn’t do it here – just to keep the tutorial super simple, but you can adapt it any way you want!
Since nylon is made of plastic, is there a more earth-friendly liner to use? I don’t buy cereal, so the cereal inner bag is not an option. Thanks!
You can just use cotton!
Why is it that you use “rips too nylon” for the inside? I’ve seen people using other products for the inside. Would regular broadcloth fabric work for both inside and outside layers?
Ripstop nylon is easier to clean but you can use regular fabric for the inside as well – whatever works best for you!
I did it!!! I’m so excited I’ve made two of the smaller ones so far. Thank you so much for idea idea and great step-by-step directions.
oh good – I’m so glad the project worked for you!