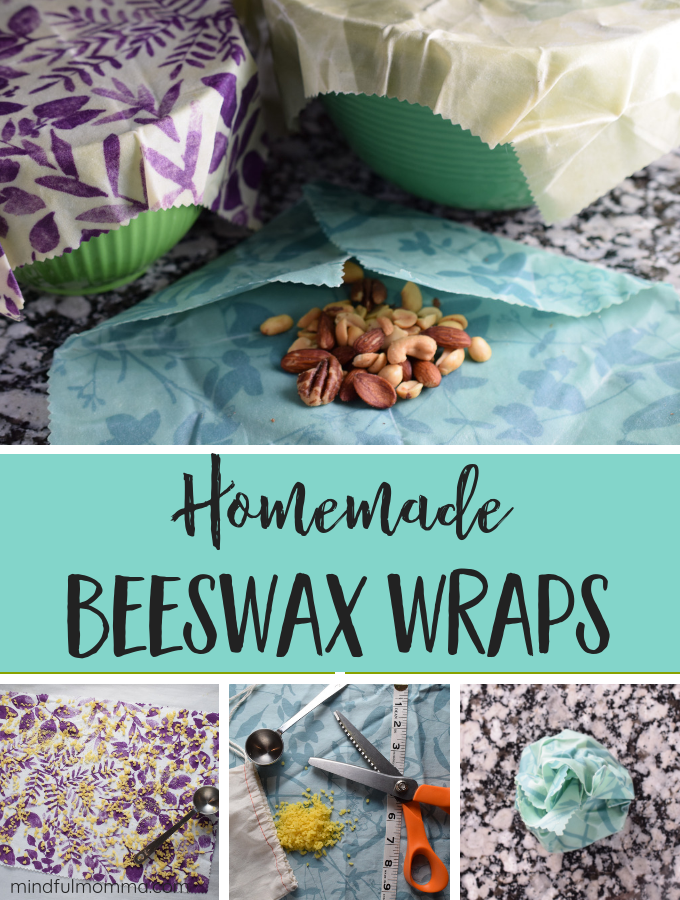
How to Make DIY Beeswax Wraps as an Alternative to Plastic Wrap
Learn how to make DIY Beeswax Wraps as a non-toxic, zero waste alternative to plastic wrap in your kitchen.
As someone who has always loved to dabble in DIY, I have an interesting habit of looking at items in a store and saying “I could make that!”
To be honest, I’m not sure if this is a blessing or a curse because while I love the reward of making things by hand, I do have a rather large supply of crafting materials taking up space in my basement. There’s also the stash of homemade stuff that wasn’t quite good enough to gift but isn’t exactly being useful at the moment (all those bowls from ceramics class – what was I thinking?!!)
Can you relate to this DIY dilemma?
This is why I’ve grown to love the type of craft project that not only makes super practical items that I can use immediately, but also uses up craft materials that I already have on hand. The DIY Beeswax Wraps I’m showing you today are just that type of craft!
At Mindful Momma we only endorse products we’ve personally researched, tested, and honestly love. We may receive commissions from affiliate links in this article including Amazon Affiliates. Full Disclosure
Why Make DIY Beeswax Wraps?
Before we begin, let’s talk about beeswax wraps for a minute. If you haven’t been indoctrinated yet, beeswax wraps are pieces of cloth that have been infused with natural beeswax. Warm air or the warmth of your hands makes the beeswax pliable and gives it sticking power.
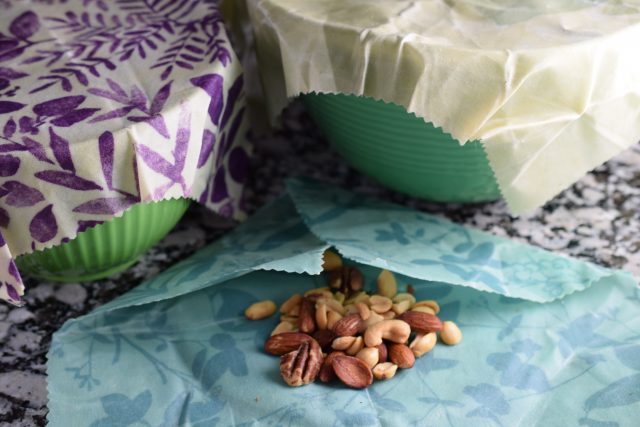
Beeswax wraps are basically a type of reusable food wrap and a great replacement for wasteful plastic wrap. They make fantastic bowl covers – just mold the wrap around the top of the bowl. Beeswax wraps are also used to wrap up food like sandwiches, cheese, fruits or nuts. (I recommend sticking to solid food items only, as liquids could leak out of the edges.)
If you are a fan of sustainable kitchen products, I guarantee you will love these!
RELATED: A Bunch of Alternatives to Plastic Wrap for a Zero Waste Kitchen
You can buy beeswax wraps of course – and there are plenty of great options available:
But if you are a serial crafter like me, you’ll just have to figure out how to make them for yourself!
Lucky these wraps are quite easy to make and like I said, you may even have the materials on hand. Personally, I have a ton of fabric scraps from previous projects, and because I frequently make homemade natural beauty products like lip balm or my lavender calendula balm, I already had the beeswax too.
And I’d be remiss not to mention the money saving part! Buying a set of beeswax wraps will set you back about $18 for a set of 3, while making them yourself will cost considerably less.
How to Make DIY Beeswax Wraps
So are you ready to get started?
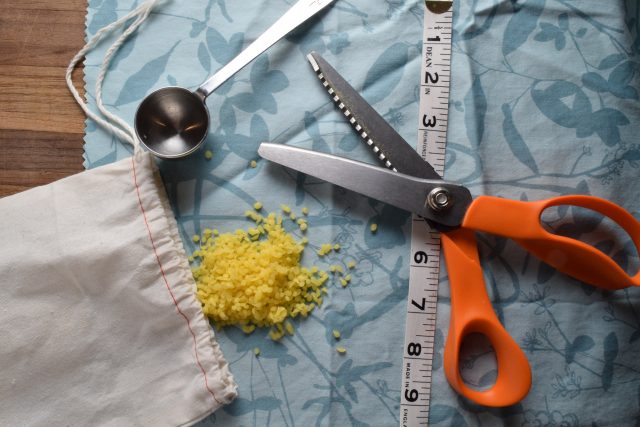
Here are the supplies you will need to make homemade beeswax wraps:
- Fabric scraps – I recommend light to medium weight, 100% cotton fabric only. Handy sizes are 8″ x 8″ or 12″ x 12″ or 14″ x 14″, but really any size will do. Also note that white fabric will become a bit yellow from the beeswax.
- Beeswax – I prefer beeswax pellets but you can also buy a bar of beeswax and grate it yourself.
- Pinking shears – Pinking shears are scissors that cut a zigzag instead of a straight line, which helps keep fabric from fraying at the edges.
- Brush – An inexpensive brush that you won’t need for any other purpose.
- Measuring tape or ruler
- Parchment paper
- Baking sheet – I use a rimmed baking sheet to keep the fabric from slipping off.
Begin by cutting out your fabric pieces using the pinking shears. If you don’t have pinking shears, you can use regular scissors – don’t sweat it!
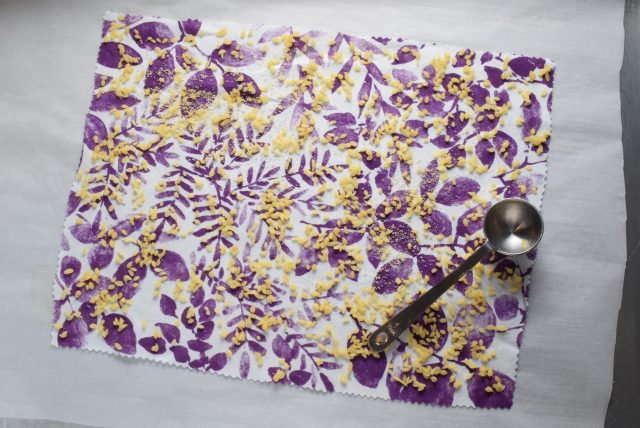
Heat oven to 200 degrees. Line a baking sheet with parchment paper. Place cloth on the parchment paper.
Next, sprinkle beeswax pellets on the fabric. I use about 2 tablespoons of beeswax pellets for a 12″ x 12″ cloth. It’s not an exact science though, so use your good judgement to sprinkle the beeswax around evenly.
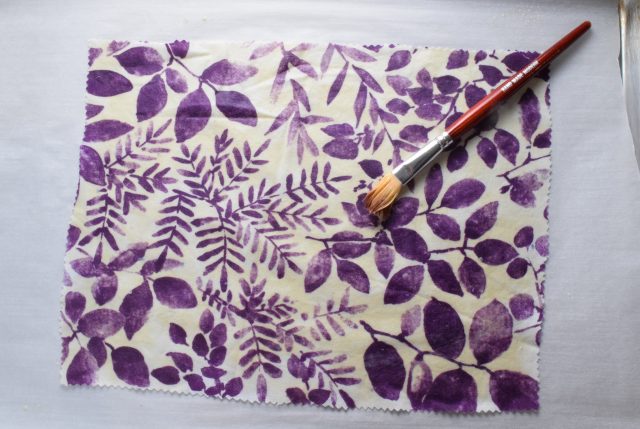
Place pan in oven and let it “bake” for 5 minutes. Remove pan and use the brush to spread the beeswax around the cloth, making sure to get it to all the edges.
Then flip the cloth to the other side and place back in the oven. Let the wax melt again for 3 more minutes, then remove pan and brush again. I found that this step helped to get the beeswax well distributed throughout the fabric.
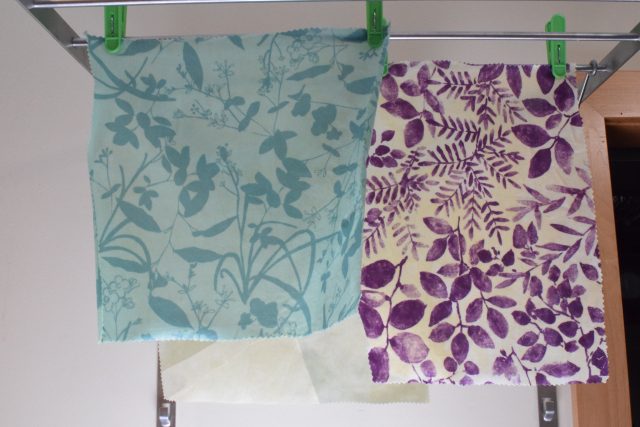
Pick up the fabric (careful, it will be hot!) and either wave it around for a bit or clip it to a drying rack (see below) to let it dry.
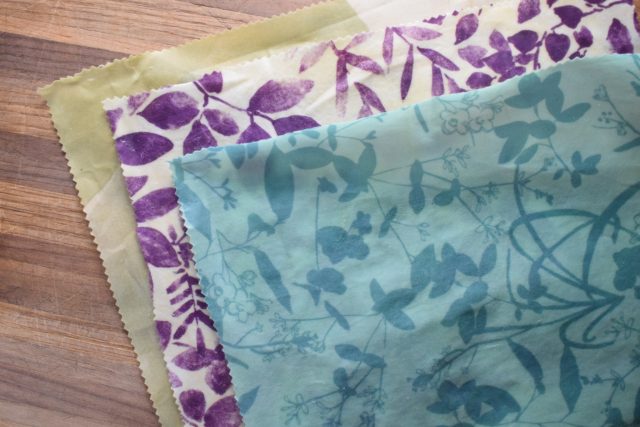
Once the beeswax wraps are dry, they are ready to use!
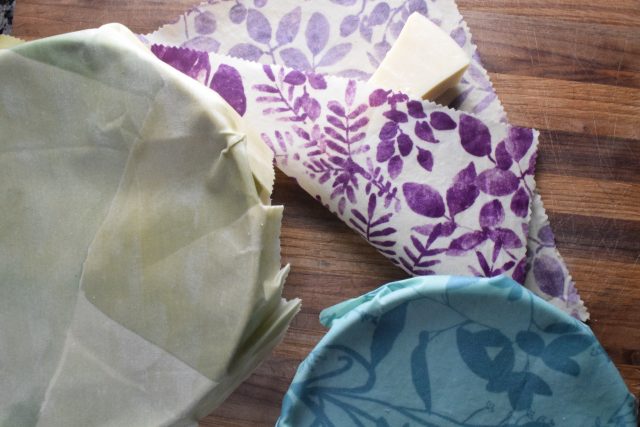
As I mentioned before, beeswax wraps make great bowl covers! It’s also a great way to store cheese.
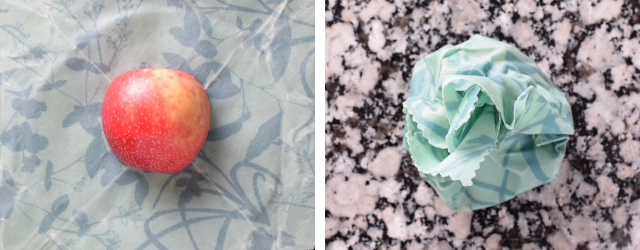
You can shape beeswax wraps around just about anything! Something small like an apple.
or larger like a cantaloupe

How to Care For DIY Beeswax Wraps
Beeswax wraps can be washed carefully in cold water and left on a rack to dry. Beware – hot water will melt off the beeswax so use cold water only. Scrubbing will also remove the beeswax.
Store wraps by folding them carefully and placing in a drawer. Take good care of your beeswax wraps and they will last for 6 months to a year (it really depends on how much you use them). Feel free to reapply the beeswax if they lose their sticking power – or start over with a new piece of fabric.
I’d love to know how you use your DIY Beeswax Wraps! Leave a comment or share a photo!

I live in Fresno CA which is an extremely hot city most of the time. My husband is a painter and works outside almost always. I was just wondering how well this sort of a product deals with heat up to 112 or more sometimes. I’d hate for his food to be covered in wax by lunch time.
Good question Jessica. I don’t have any personal experience with temperatures that hot but I would say there is a chance that the beeswax could melt and migrate to the food. I guess you could test out at home first and see what happens. Keep me posted!
Is it safe to use tupperware which is reusable for storage?.Or should I stick to just glass.
Most tupperware/plastic containers are pretty safe to use – specifically those with recycle codes #5 or #2 on the bottom. Avoid using plastic in the microwave and if you put it in the dishwasher, put it in the top shelf where it won’t get so hot. Heat and plastic are not a good combination because chemicals can leach out of the plastic and into food. Over time, heat degrades the plastic too, causing it to leach even more apparently. Glass is a wonderful option – both safe and reusable – but the downside is that it is heavier and could possibly break. Do what works best for you!
Greetigs💜🙏🙏🙏
Thanks with Best Wishes 🍷🍷🍷
Hi! I have tried making DIY beeswax wraps using a recipe similar to yours but the wraps turn out stiff and not very sticky. I was wondering if you could give me any tips? Than you!
You might just need more beeswax. Things that might influence the results are the type and weight of the cloth you use and also the weather and humidity. The good news is it doesn’t hurt to add more beeswax!
I have just made the DIY Beeswax wraps, and I have three questions:
1. Because you flip the cloth over, both sides are waxed and I folded them and put them away. When I took one out of the drawer to use I forgot which side was which. Does that matter?
2, Tips on ways to keep the wrap closed? I used the wrap for small muffins but it didn’t stay closed, so I used a bag clip. Can you give me other ideas? I am going to use them for more than just covering bowls,
3, Can the wraps be used for sandwiches?
Hi Terry – So glad you made the beeswax wraps! There should be no difference in the sides of the wraps since both have wax. In terms of keeping them closed, the warmth of your hands should allow the beeswax to melt a bit and then stick together. If it’s not working, there is a chance you need to add more beeswax. Yes, the wraps can be used for sandwiches!
I have soy wax on hand. Can that be substituted for beeswax? Thank you in advance.
I’ve never used soy wax so I can’t be sure how it would work. I would try one and see how it goes. Let me know!
These are beautiful!
Thank you! And they are practical too! 🙂